How to Measure Yourself for Custom Jeans at Home: A Complete 2026 Guide
How to Measure Yourself for Custom Jeans at Home: A Complete 2026 Guide
Accurate measurements are the foundation of custom-fit jeans. Taking them at home is manageable when you use a flexible tape, follow consistent landmarks, and record how you want the finished jeans to sit—not merely the number shown on the tape.
Fit problems often begin when a standard size is expected to represent every combination of waist, hip, rise and thigh measurements. Recording those dimensions separately gives a maker clearer specifications for custom-made jeans.
Why Standard Sizing Fails Most Body Types
Ready-to-wear jeans are developed around a limited set of fit models and graded into standard sizes. If your waist, hips, rise or thighs do not scale in the same proportions, one tagged size may feel right in one area and wrong in another.
Two people with the same waist measurement can still need different hip, rise and thigh dimensions. Treat each measurement as an independent input rather than assuming the waist size predicts the rest of the pattern.
Custom fit jeans eliminate this lottery entirely. When you provide accurate measurements, skilled pattern makers can accommodate:
- Natural left-to-right differences in hip shape or posture that may affect how the garment hangs
-
Varying seat depths and curvatures
-
Athletic thigh-to-waist ratios that defeat standard cuts
-
Longer or shorter rise preferences based on torso length
-
Specific calf and ankle proportions for the perfect taper
Essential Tools for Accurate Home Measurements
Professional tailors invest in precision tools because accuracy matters. For home measuring, you’ll need:
Primary Equipment
Flexible measuring tape (fabric or fibreglass): Metal tapes designed for construction are too rigid and will produce inaccurate curves. Invest in a quality tailor’s tape—they cost under £5 and last years. Ensure it’s at least 150cm/60 inches long.
Full-length mirror: Essential for checking tape positioning, particularly for back measurements and ensuring the tape remains level.
Thin elastic or ribbon: Used to mark your natural waist—a technique I’ll explain shortly that transforms measurement accuracy.
Form-fitting underwear: Loose boxers or shapewear will distort measurements. Wear what you’d typically wear beneath jeans.
Helpful Additions
A measurement partner: While solo measuring is possible, having assistance for back rise and inseam measurements improves accuracy significantly.
Dress shoes and boots: If you plan to wear your tailored jeans with dress shoes or boots, check the desired finished length while wearing similar footwear. Keep this garment-length preference separate from the body inseam measurement.
Smartphone with timer/camera: For solo measuring, a phone propped on a surface can help you photograph tape positioning to verify accuracy.
The 12 Critical Measurements for Perfect Custom Fit Jeans
Over years of refinement, I’ve identified twelve measurements that capture everything needed for exceptional jean construction. Miss any of these, and compromises become necessary. Let’s work through each systematically.
Measurement 1: Natural Waist
Your natural waist is not where most jeans sit—it’s the narrowest point of your torso, typically 2-5cm above your navel. To locate it precisely:
-
Stand straight and relaxed, breathing normally
-
Bend sideways—the crease that forms marks your natural waist
-
Tie your elastic or ribbon around this point, keeping it snug but not constricting
-
This ribbon becomes your reference point for multiple measurements
Now measure circumference at this ribbon line. Keep the tape parallel to the floor, maintain light contact with your body (you should be able to slip one finger underneath), and record to the nearest half-centimetre.
Measurement 2: Low Waist (Jean Waistband Position)
Most modern jeans sit below the natural waist. Determine where you prefer your waistband to rest—typically at the hip bone or just below—and measure circumference at this point. This measurement often differs from natural waist by 5-15cm, depending on body shape.
For low-rise custom jeans, the low-waist measurement becomes especially important. For mid- or high-rise styles, record the requested waistband position as well as the seat measurement so the pattern can be shaped between them.
Measurement 3: Full Hip Circumference
Stand with feet together and measure around the fullest part of your hips and buttocks—usually 18-23cm below natural waist. This is typically the widest horizontal measurement on your lower body and determines how much fabric is needed through the seat.
Keep the tape absolutely level; a common error is angling it higher in front than back, which underestimates hip circumference.
Measurement 4: Upper Hip
This intermediate measurement, taken roughly halfway between low waist and full hip, captures your hip curve shape. Bodies with dramatic curves need more fabric eased between waist and hip; straighter figures require less. Without this measurement, pattern makers must guess at your specific curvature.
Measurement 5: Front Rise
Sit on a hard, flat chair with your back straight. Measure from the top of the chair surface (where it meets your body) straight up to where you want your waistband to sit. This determines how much fabric is allocated to the front crotch area.
A common mistake: measuring standing up. The seated position mimics how fabric must accommodate your body when sitting—the measurement increases significantly compared to standing.
Measurement 6: Back Rise
This is where a partner helps enormously. While seated on the same hard chair, have someone measure from the chair surface, following your body’s curve up and over the buttocks, to the same waistband position at your back.
Back rise typically exceeds front rise by 5-10cm, depending on buttock projection. Insufficient back rise causes jeans to pull down when sitting—the dreaded “plumber’s crack” effect that plagues ready-to-wear fits.
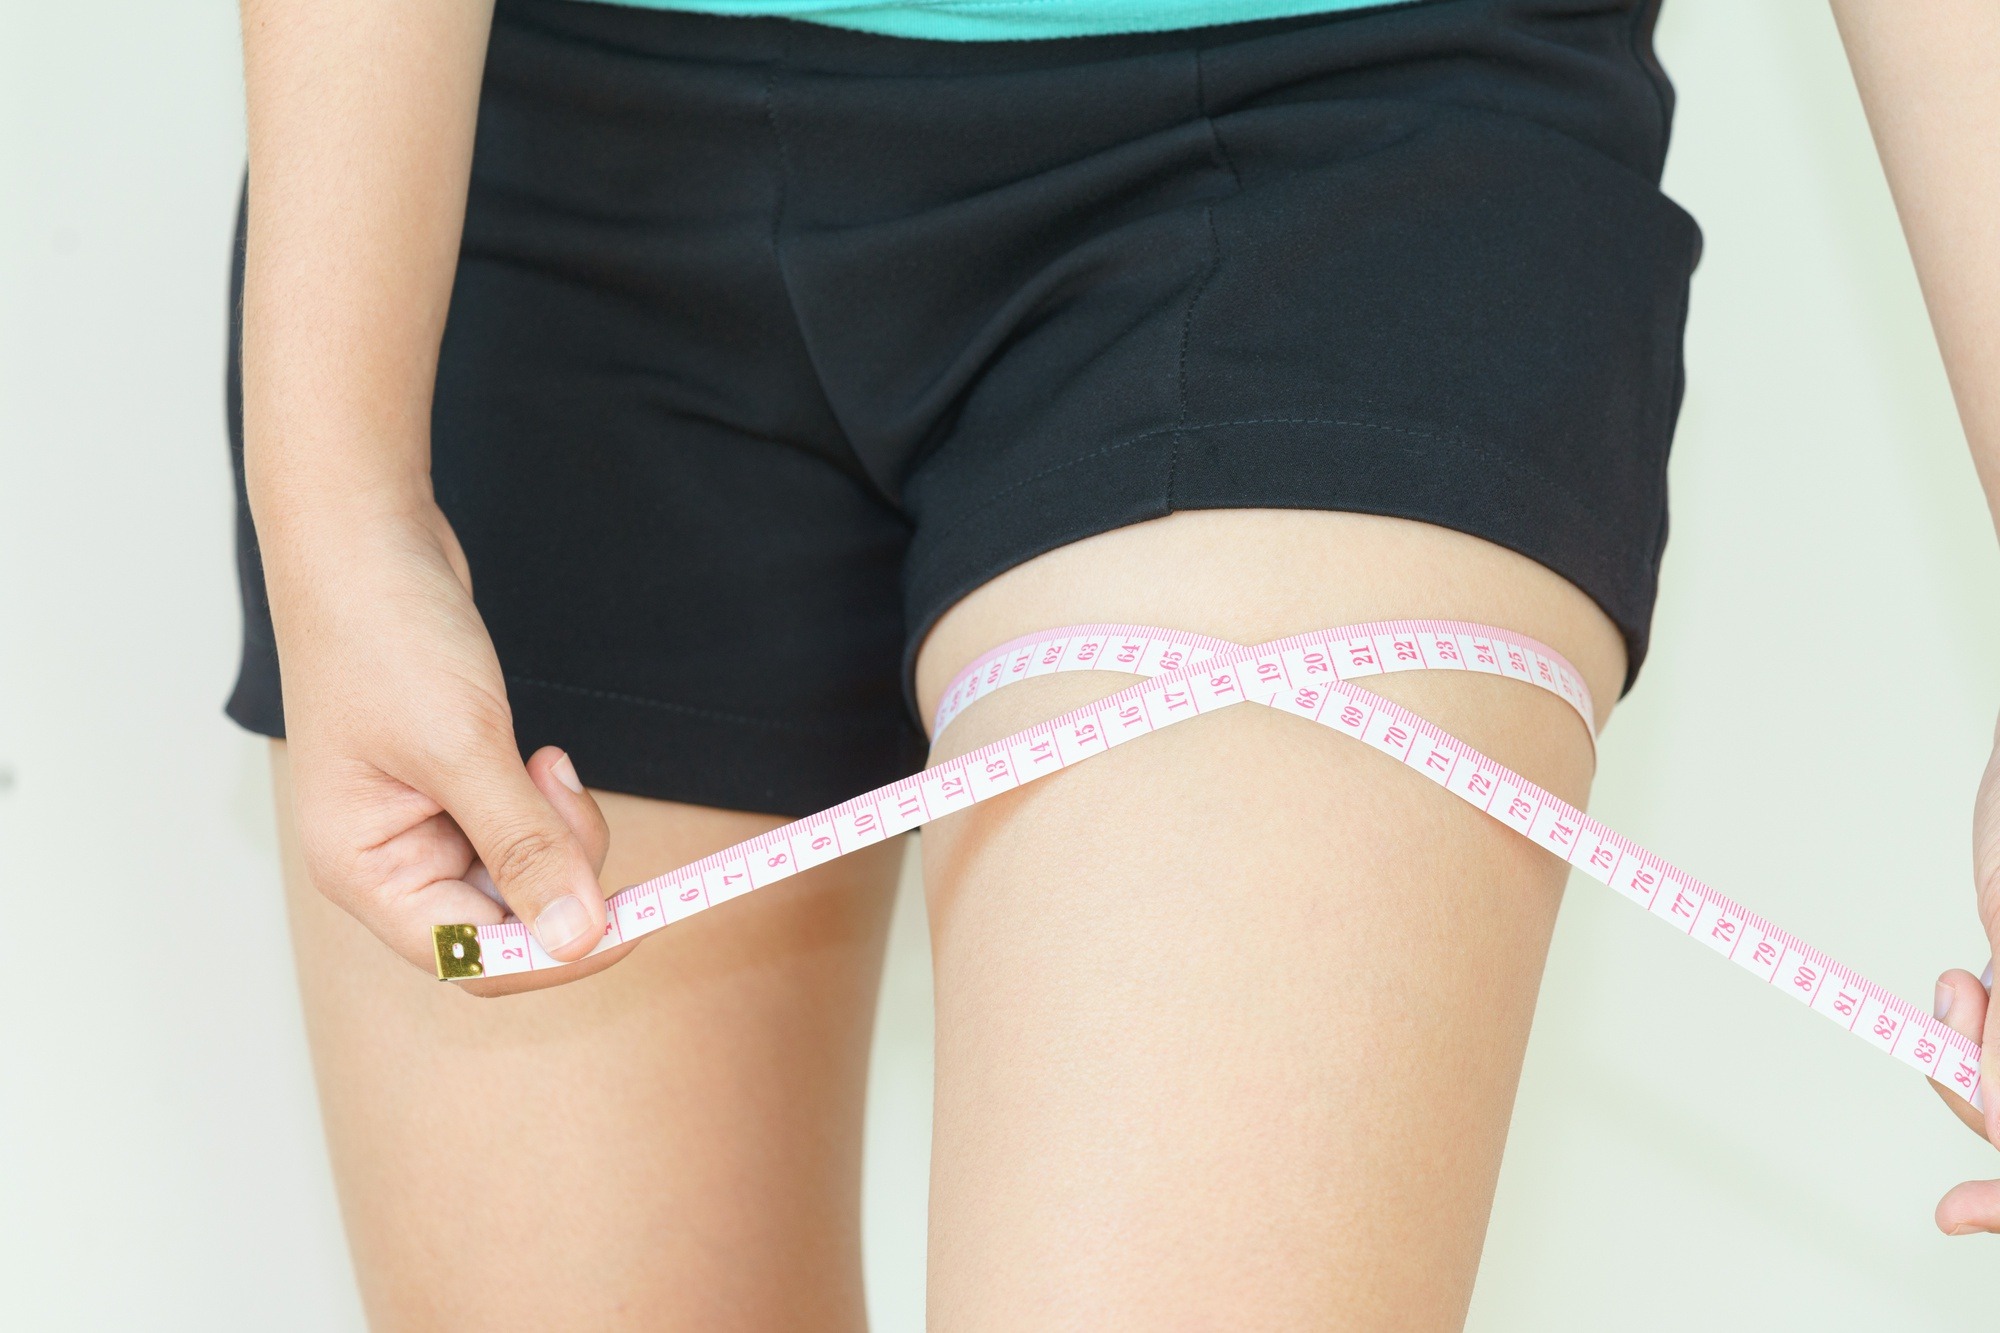
Measurement 7: Thigh Circumference
Stand with feet shoulder-width apart, weight evenly distributed. Measure around the fullest part of your thigh, typically just below the gluteal fold. Ensure the tape is perpendicular to your leg, not angled.
If you have particularly muscular thighs from athletics or cycling, also note the measurement 10cm below this point—it helps pattern makers determine how much taper is feasible without restriction.
Measurement 8: Knee Circumference
Measure around your knee with your leg slightly bent (roughly 20 degrees). This relaxed position ensures adequate fabric for comfortable movement. Record this measurement at the centre of your kneecap.
Measurement 9: Calf Circumference
Measure the widest point of your calf—usually the upper third of the lower leg. This measurement determines how narrow your jeans can taper while still allowing you to physically get them on and off.
Measurement 10: Ankle Circumference
Measure around your ankle at the bone prominence. For custom fit jeans, you’ll also want to note your desired leg opening—typically 2-5cm larger than actual ankle circumference for comfortable dressing.
Measurement 11: Outseam Length
Stand straight and measure from where you want your waistband to sit, down the outside of your leg to your desired hem length. This is typically to the floor or to the top of your shoe heel, depending on your preferred break.
Measurement 12: Inseam Length
This is the measurement inside your leg from crotch point to hem. The most accurate method: measure a pair of well-fitting trousers lying flat, from the crotch seam intersection to the hem, along the inside leg seam.
If measuring on your body, stand with feet 15cm apart and have someone measure from your crotch point (where front and back rise would meet) straight down to your desired hem length.
Advanced Techniques for Athletic and Unique Body Types
Standard measurement protocols assume relatively average proportions. If you have athletic builds, physical asymmetries, or fall outside typical ranges, additional steps ensure optimal results.
For Muscular Thighs and Glutes
Athletes—particularly cyclists, rugby players, and those who squat heavy—often find their thigh-to-waist ratio defeats conventional patterns. Beyond the standard thigh measurement, provide:
-
Mid-thigh circumference (halfway between full thigh and knee)
-
Seat depth: measure from side waist, under your buttock, to the opposite side waist, passing through the crotch
-
Maximum thigh extension: measure thigh circumference while in a seated position with knee at 90 degrees
These additional data points help a pattern maker allow movement without adding unnecessary volume at rest. Athletic-fit custom jeans may require separate adjustments at the waist, seat and thigh rather than a larger standard size throughout.
For Asymmetrical Bodies
If you know or suspect one leg is longer than the other—or one hip sits higher—take all leg measurements on both sides and note which is dominant. Skilled tailors can adjust individual pattern pieces to accommodate differences as small as 1cm.
For Significant Hip-to-Waist Differentials
A waist-to-hip ratio exceeding 1:1.15 (for example, 76cm waist with 91cm hips) requires special pattern attention. Provide additional measurements at 5cm intervals from waist to hip so pattern makers can plot your specific curve accurately.
Common Measurement Mistakes and How to Avoid Them
In my fitting room, I routinely see self-measurements that miss the mark. Here are the errors I correct most frequently:
Holding Your Breath
Breathing in while measuring your waist might feel psychologically satisfying, but it produces jeans you can’t breathe in. Take all torso measurements during normal, relaxed breathing—ideally at the end of a natural exhale.
Measuring Over Clothing
Bulky clothing can distort a circumference measurement. Measure against the body where practical, or over thin, close-fitting clothing, and use the same approach for every measurement.
Pulling the Tape Too Tight
Compressing soft tissue gives artificially small measurements. The tape should make full contact with your body without any visible indentation or flesh displacement.
Ignoring Posture
Slumping reduces rise measurements; leaning forward distorts hip measurements. Stand naturally upright with weight evenly distributed for consistent, repeatable results.
Measuring at the Wrong Time
Body measurements fluctuate throughout the day and month. For consistency, measure in the morning before eating, and if you’re someone whose weight fluctuates regularly, consider measuring at the midpoint of your typical range.
Translating Measurements into Custom Jean Specifications
Measurements become useful only when paired with the intended fit, rise and fabric. Before ordering made-to-measure jeans from Tailored Jeans, review every value for consistency and explain any fit preference that a number alone cannot show.
Ease requirements: Your actual hip measurement isn’t your target jean hip measurement. Depending on desired fit, 2-5cm of ease is added for movement. Similarly, thighs need 2-3cm ease minimum.
Fabric considerations: Rigid selvedge denim requires more ease than stretch blends. Provide your measurements accurately; let the pattern maker adjust for fabric behaviour.
Style context: The same measurements produce very different jeans depending on intended fit. Be explicit about whether you want slim, relaxed, or tailored styling—measurements inform construction, but style dictates silhouette.
Maintaining Measurement Records for Future Orders
Your body changes over time, but high-quality measurements provide a baseline for future reference. Create a simple document with:
-
Date measured
-
All 12 measurements with notes on conditions (post-workout, fasted, etc.)
-
Current weight and any recent fluctuations
-
Specific fit preferences for different styles
When reordering, note any changes rather than re-measuring from scratch—this builds a personal fit history that improves accuracy over time.
Frequently Asked Questions About Measuring for Custom Fit Jeans
How tight should the measuring tape be when taking measurements?
Keep the tape flat and in full contact with the body without pulling it tight enough to compress the skin. Record the body measurement itself; fit ease can then be added according to the denim and your preferred silhouette.
Can I use measurements from a well-fitting pair of existing jeans instead of body measurements?
Garment measurements can supplement body measurements but shouldn’t replace them entirely. Lay your existing jeans flat and measure waistband width (double for circumference), hip width at the fullest point, front rise, back rise, thigh width, knee width, and inseam. These “finished garment” measurements help communicate your ideal fit but don’t capture body details like seat curvature that inform pattern construction.
How much difference in measurements requires a new pair of custom jeans?
For circumference measurements, changes of 3-4cm or more typically warrant new jeans—depending on the denim’s stretch content. Rigid denim tolerates less variation; stretch blends can accommodate 5-6cm of fluctuation. Rise and length measurements are less forgiving; even 2cm difference affects comfort and proportions noticeably.
Should I take measurements at a specific time of day for best accuracy?
Morning measurements before eating tend to be most consistent and typically represent your “baseline” size. Evening measurements can run 2-3cm larger due to normal daily fluid retention and food consumption. Whatever time you choose, measure at that same time if you need to retake or verify measurements later.
What’s the most commonly mis-measured dimension for custom jeans?
Front and back rise are overwhelmingly the most frequently incorrect measurements I encounter. People either measure standing instead of seated, forget to account for their preferred waistband position, or fail to follow the body’s curve for back rise. These errors produce jeans that fit perfectly everywhere except the crotch—which makes them essentially unwearable. Take extra care and ideally get assistance for rise measurements.
Do I need different measurements for different jean styles (slim, relaxed, bootcut)?
Your body measurements remain constant—it’s the ease and proportions applied to those measurements that change between styles. However, you should note your style preferences when submitting measurements. Also indicate if you want different break lengths: slim and tapered styles typically look best with shorter lengths (minimal break), while relaxed or bootcut styles can accommodate fuller lengths.
Final Thoughts: Investment Versus Guesswork
Taking proper measurements requires perhaps 30 minutes of focused attention. That modest time investment yields jeans that fit better than anything you’d find searching through racks, eliminate the frustration of returns and alterations, and ultimately prove more economical than repeatedly buying ill-fitting alternatives.
Custom fit jeans aren’t a luxury reserved for those with unlimited budgets—they’re an intelligent choice for anyone tired of the compromise that ready-to-wear demands. With the measurement techniques detailed above, you have everything needed to specify jeans that will fit your body, not some statistical average that bears little resemblance to your actual proportions.
The difference, I promise you, is transformative.
About the Author: This guide was written by Marcus Ellison, Head of Fit Development at Tailored Jeans, who has spent 22 years in bespoke tailoring, including positions at Savile Row houses and private client work for professional athletes. Marcus holds certification from the Tailoring Academy of London and has personally fitted over 15,000 clients for custom denim. His work has been featured in GQ, Esquire, and the Journal of Fashion Technology.
Written by
Marcus Ellison
Marcus Ellison is a classically trained master tailor who spent a decade crafting custom denim at Savile Row ateliers before specializing exclusively in bespoke jeans. He holds certifications from the Tailoring Academy London and has fitted clients ranging from film professionals to discerning denim enthusiasts worldwide. Marcus writes about fit construction, premium selvedge fabrics, and the art of creating jeans that are truly made to measure.
View all posts by Marcus Ellison →